


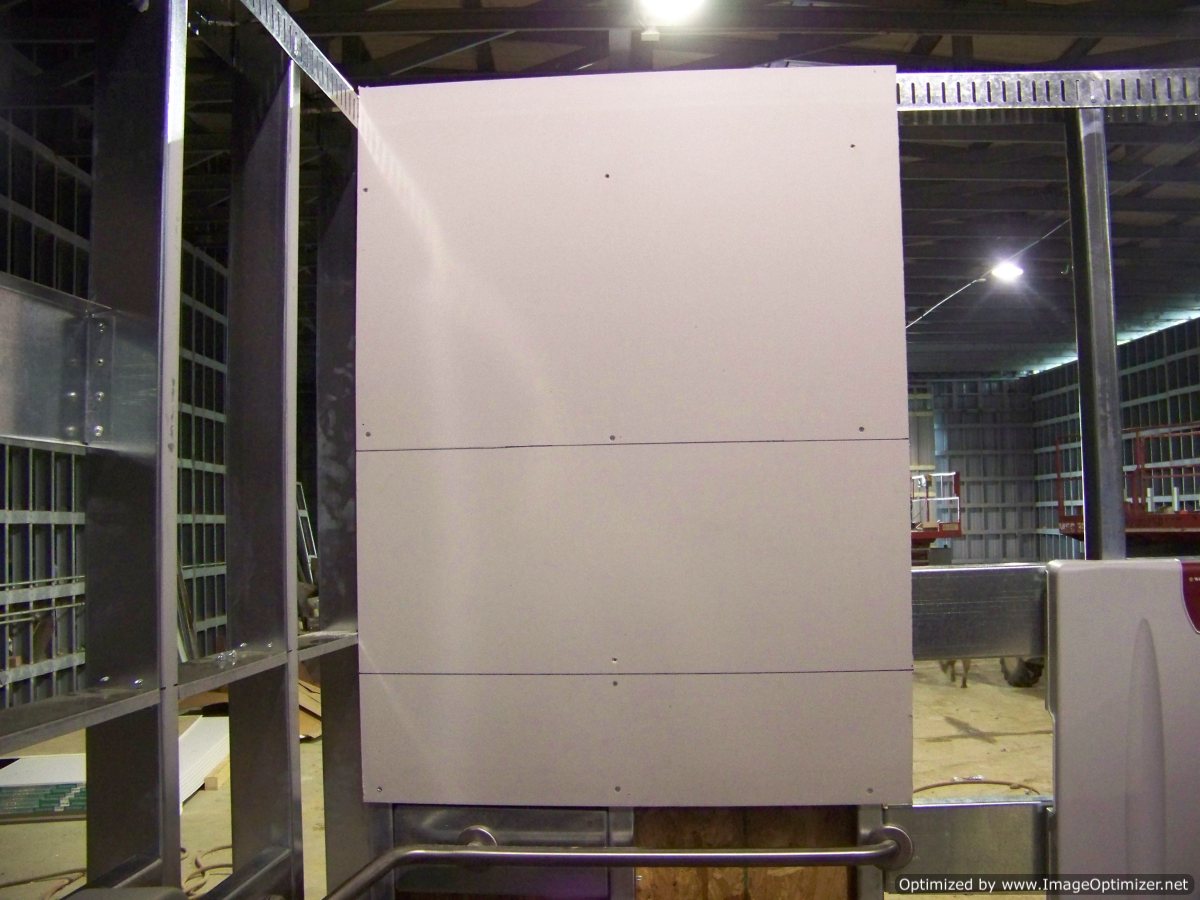
Step 1 - Marking the wall
This is a one hour fire rated exterior wall. Using a level or tee square mark the drywall with two lines 20 inches apart and as long as necessary.
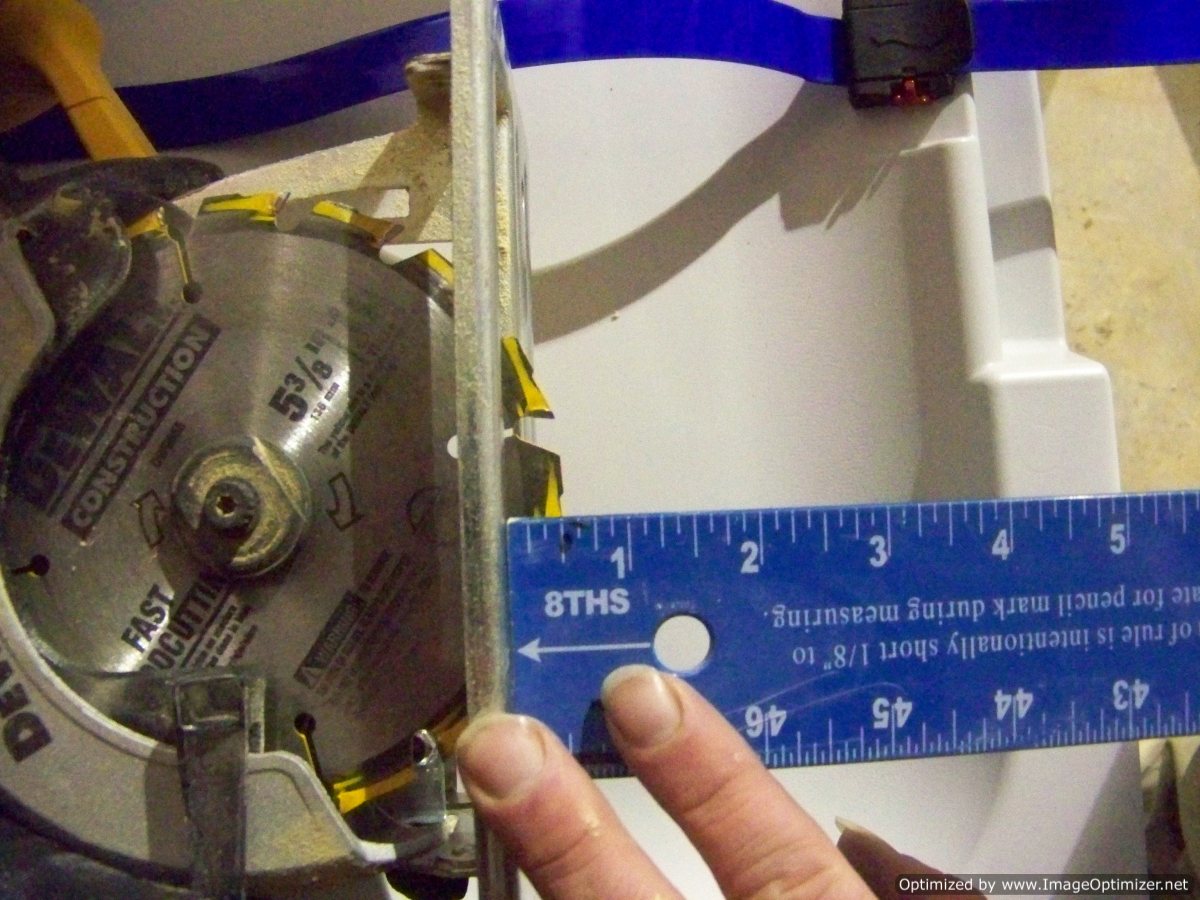
Step 2 - Set saw for cutting
Set your skill saw at 1/2 or 5/8 inch depending on the drywall thickness.
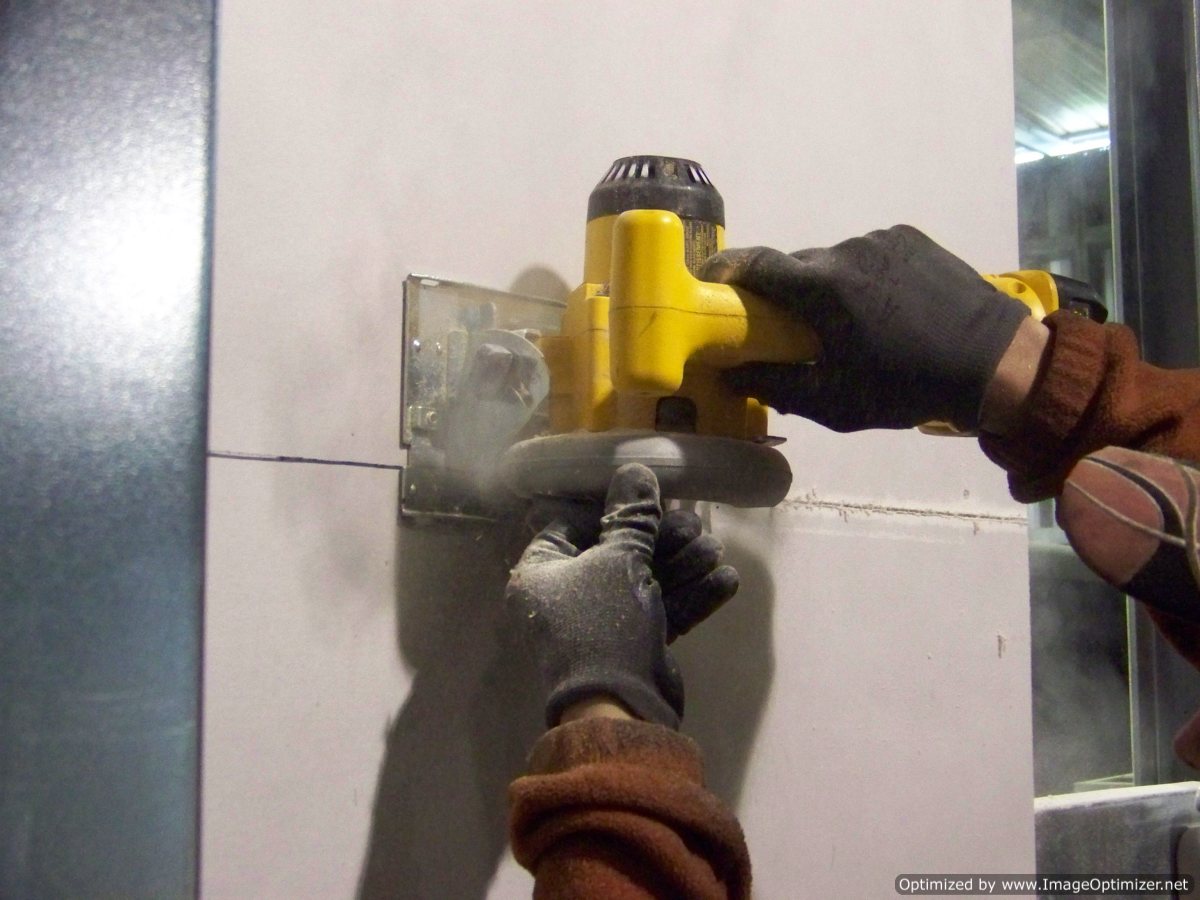
Step 3 - Cut the drywall
Cut the drywall along both marked lines for the width needed to install the 3-in-One and attach your wall-mounted product.
Step 4 - Remove the drywall
Remove the drywall in one piece if possible, and sit it aside to reinstall later. If it does not come off in one piece, don't worry.

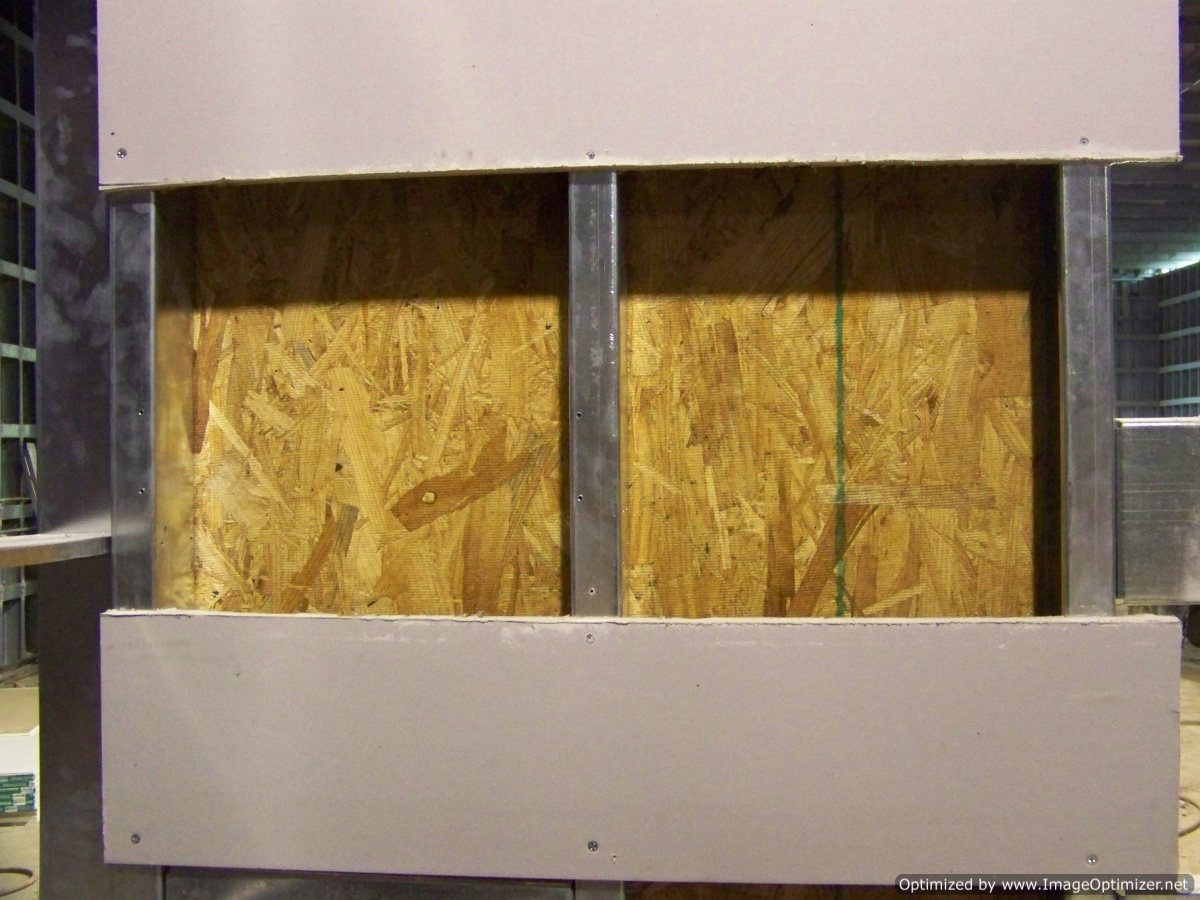
Step 5 - View of metal studs
You will now see the metal studs on 16” centers. The opening pictured is 32” wide and 20” high.
Step 6 - Place 3-in-One backing
The patented 3-in-1 system can be installed no matter which way the studs are facing.
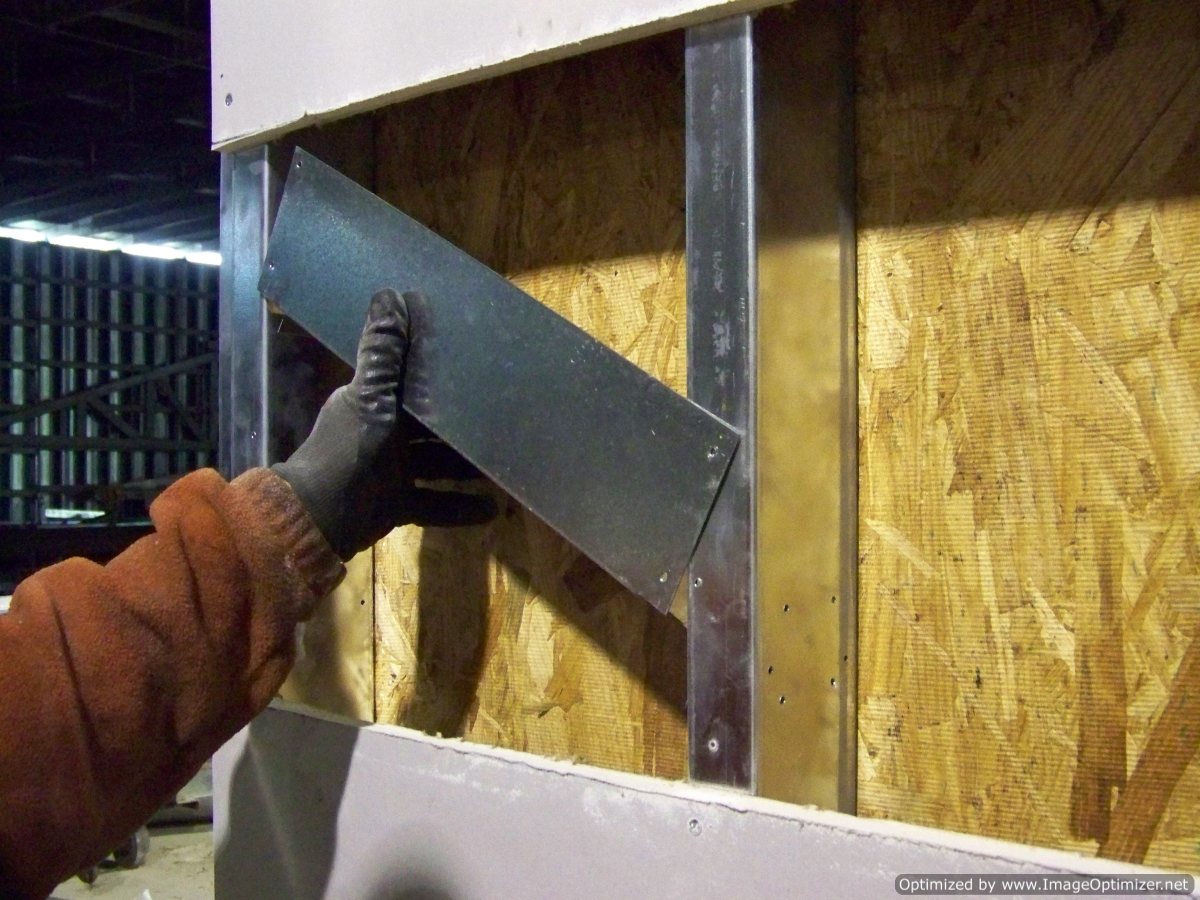
Step 7 - Screw the 3-in-One into the studs
Using #10 self-tapping screws, simply secure the 3-in-One into the studs.
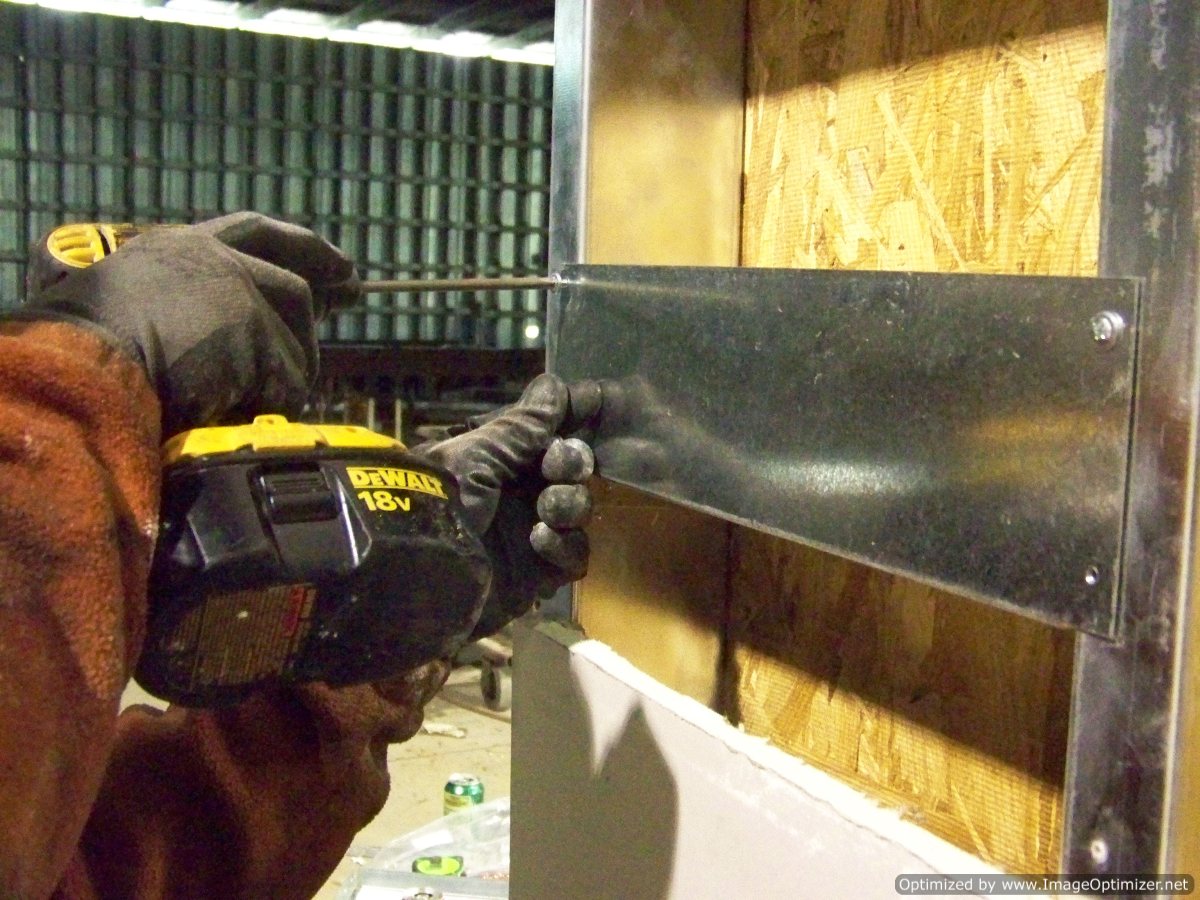
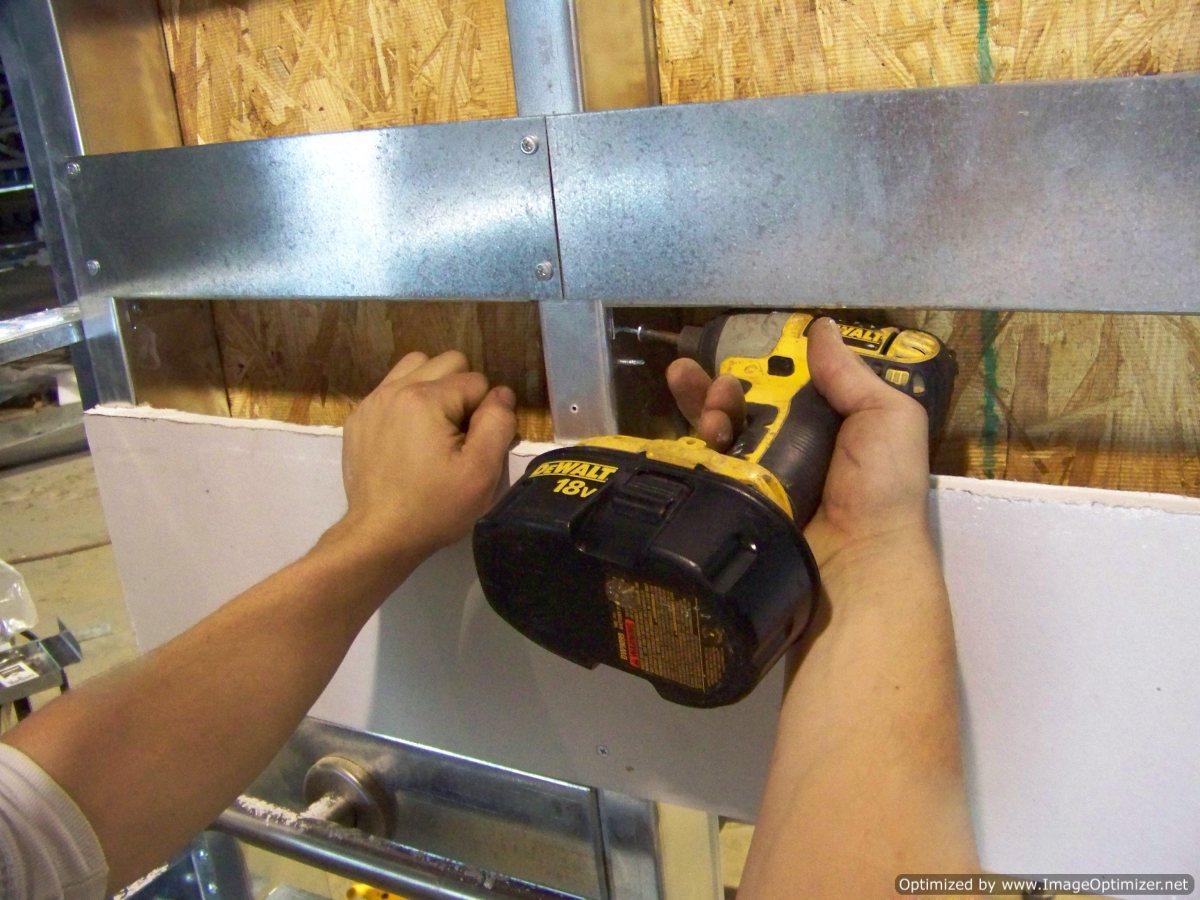
Step 8 - Continue screwing in the 3-in-One
There is no problem getting a drill into the wall cavity to screw the 3-in-One into the web of the stud.
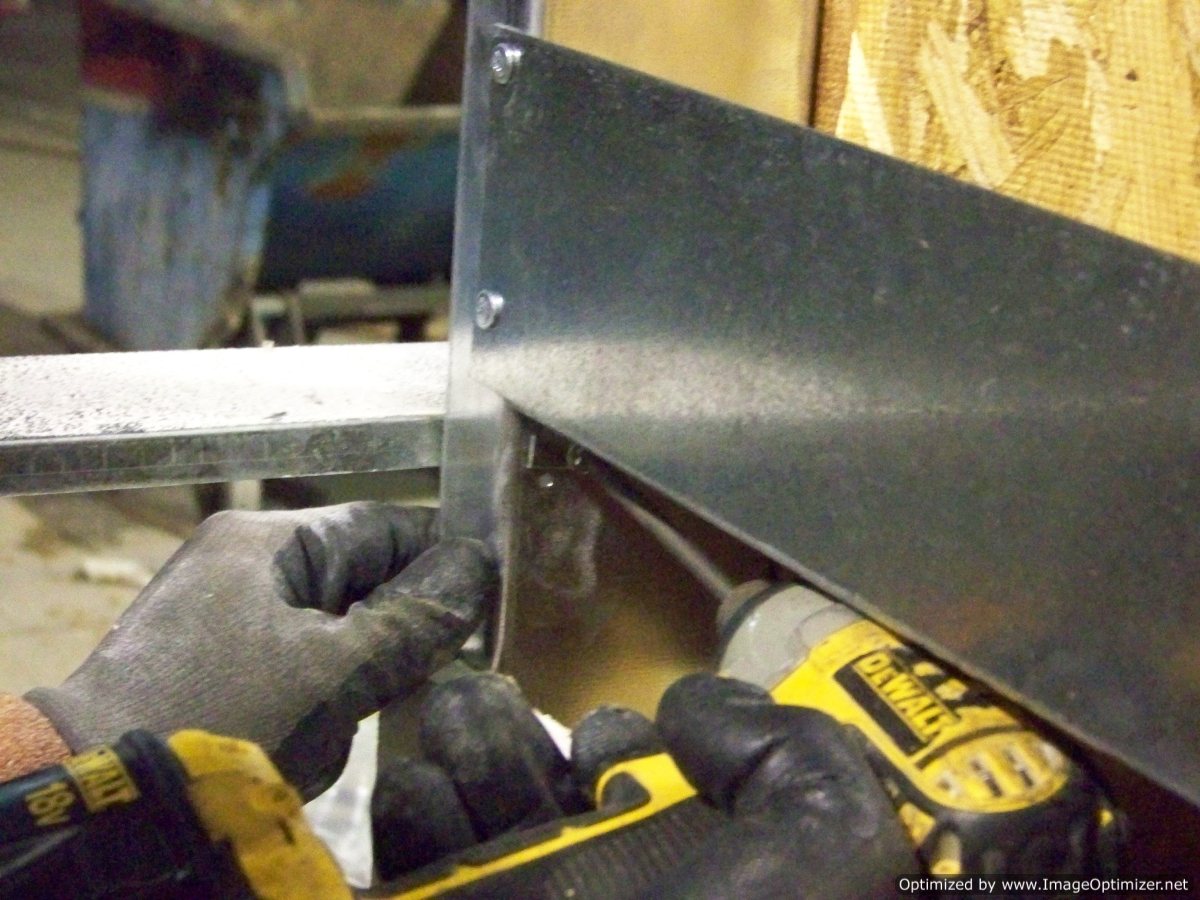
Step 9 - Finish mounting 3-in-One
The 3-in-1 is now securely installed on the left stud. An added benefit to the 3-in-One is that it makes the wall stronger after it's installed.
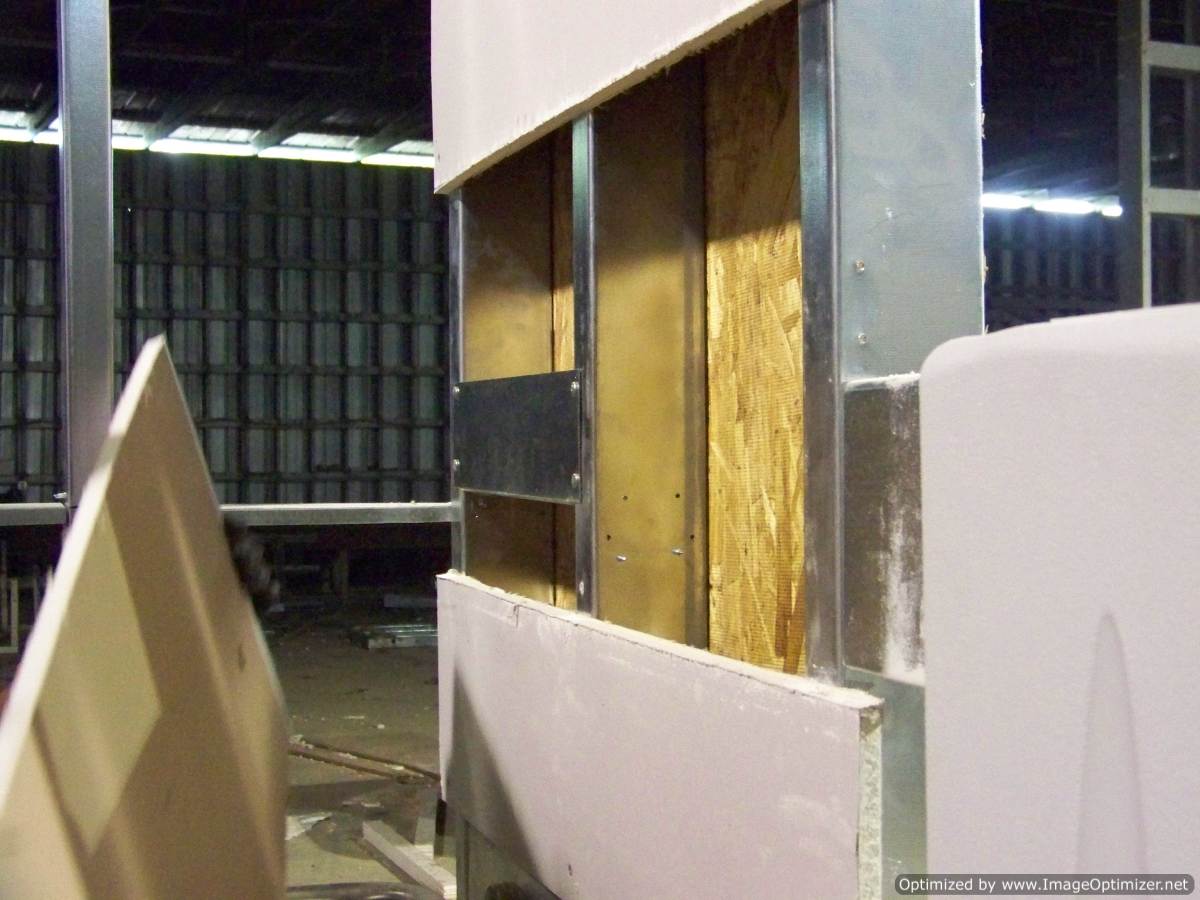
Step 10 - Screw in a second 3-in-One
The patented 3-in-One can be mounted in a straight run as far as needed. The patented design allows the screws to pass each other on every stud. This allows for customization that has never been achievable until now. The 3-in-One now gives you backing, bridging, and fire-blocking wherever needed.
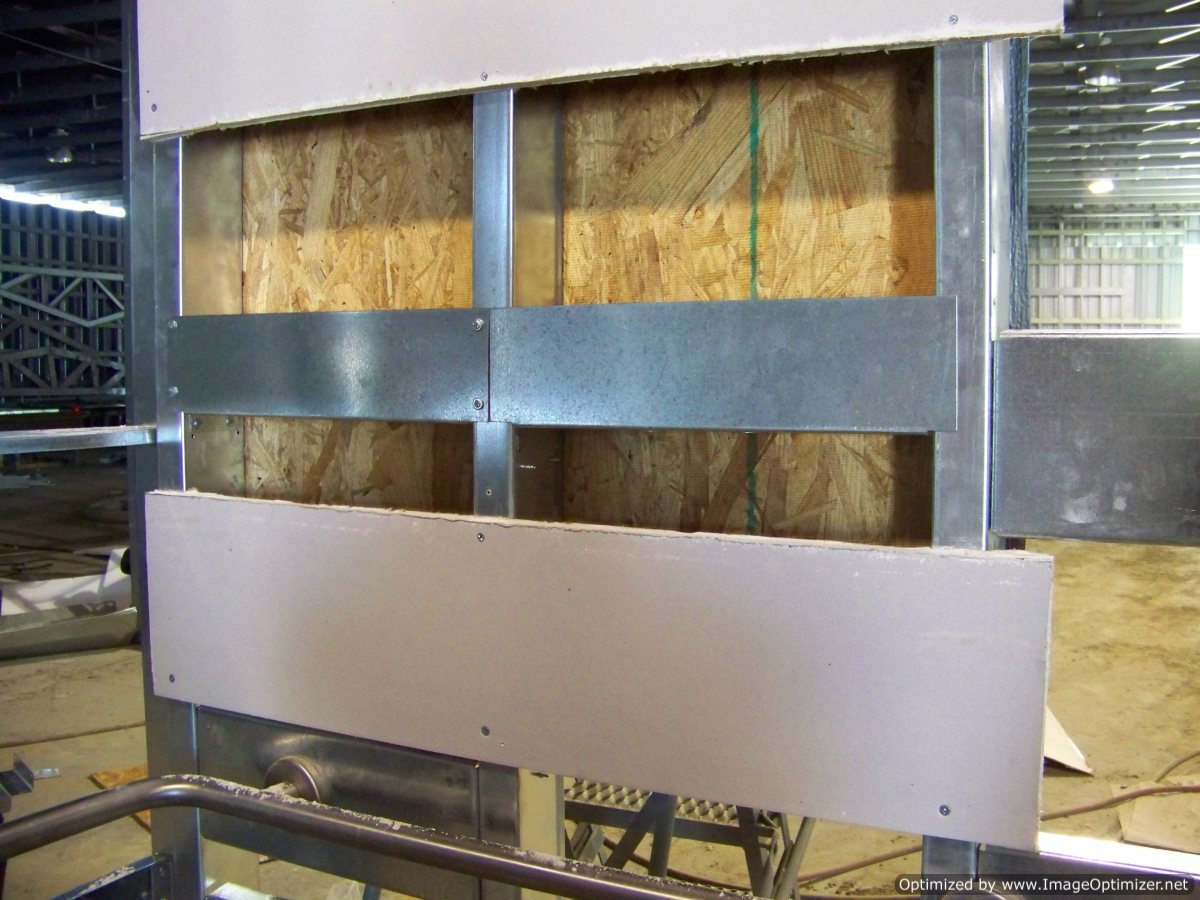
Step 11 - 3-in-One installation completed
You now have both 3-in-One's installed in a straight run. Our patented products are the first and only that are capable of being installed in a straight run, because our patented design allows the screws to pass each other on each stud. In the process, you will save time and money using this system in commercial settings. Our products do this while also being the only backing products that are ADA Code Compliant.
Step 12 - Place drywall back in
Now you may simply place the drywall back to into the opening.
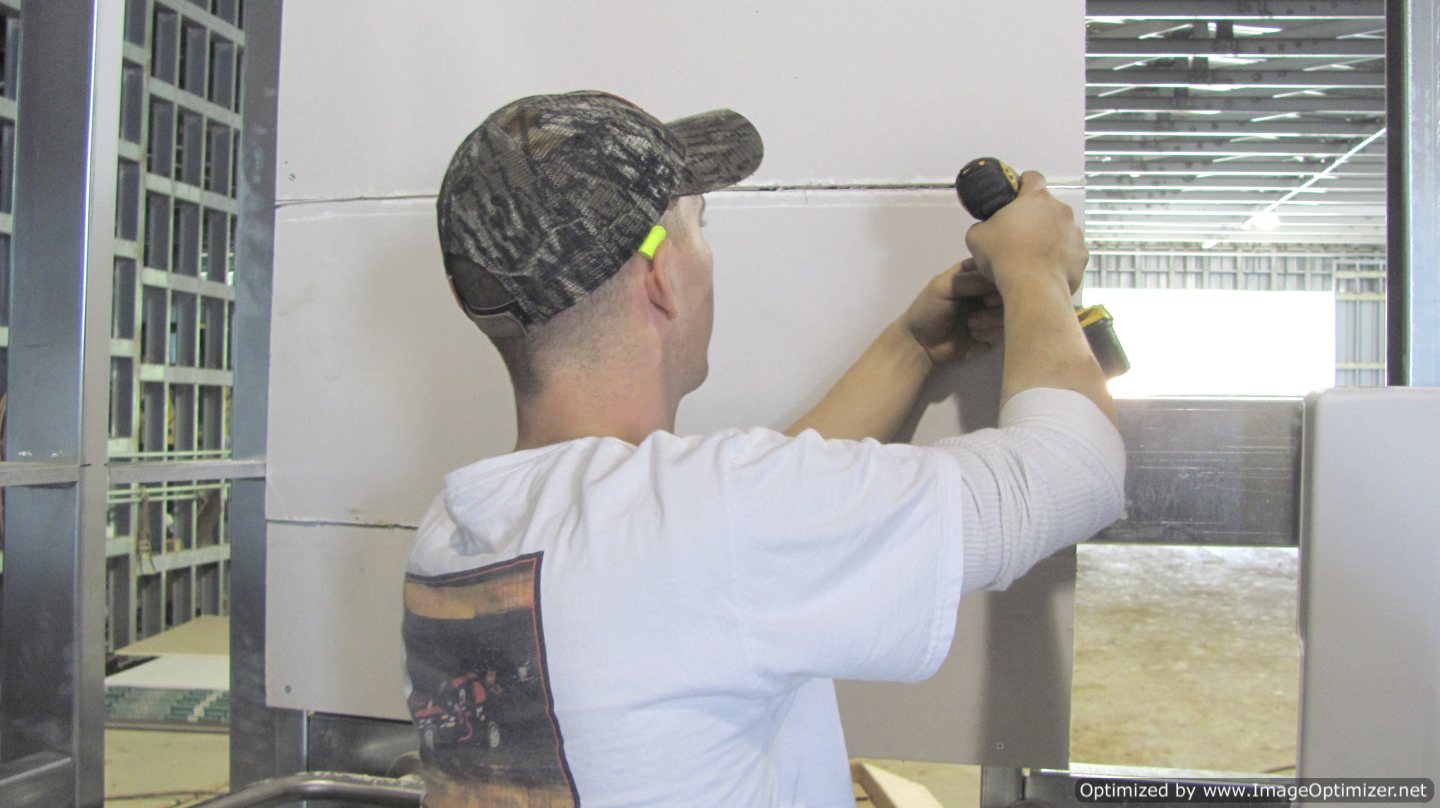
Step 13 - Screw drywall back into studs
Screw the previously removed drywall section back into the studs.
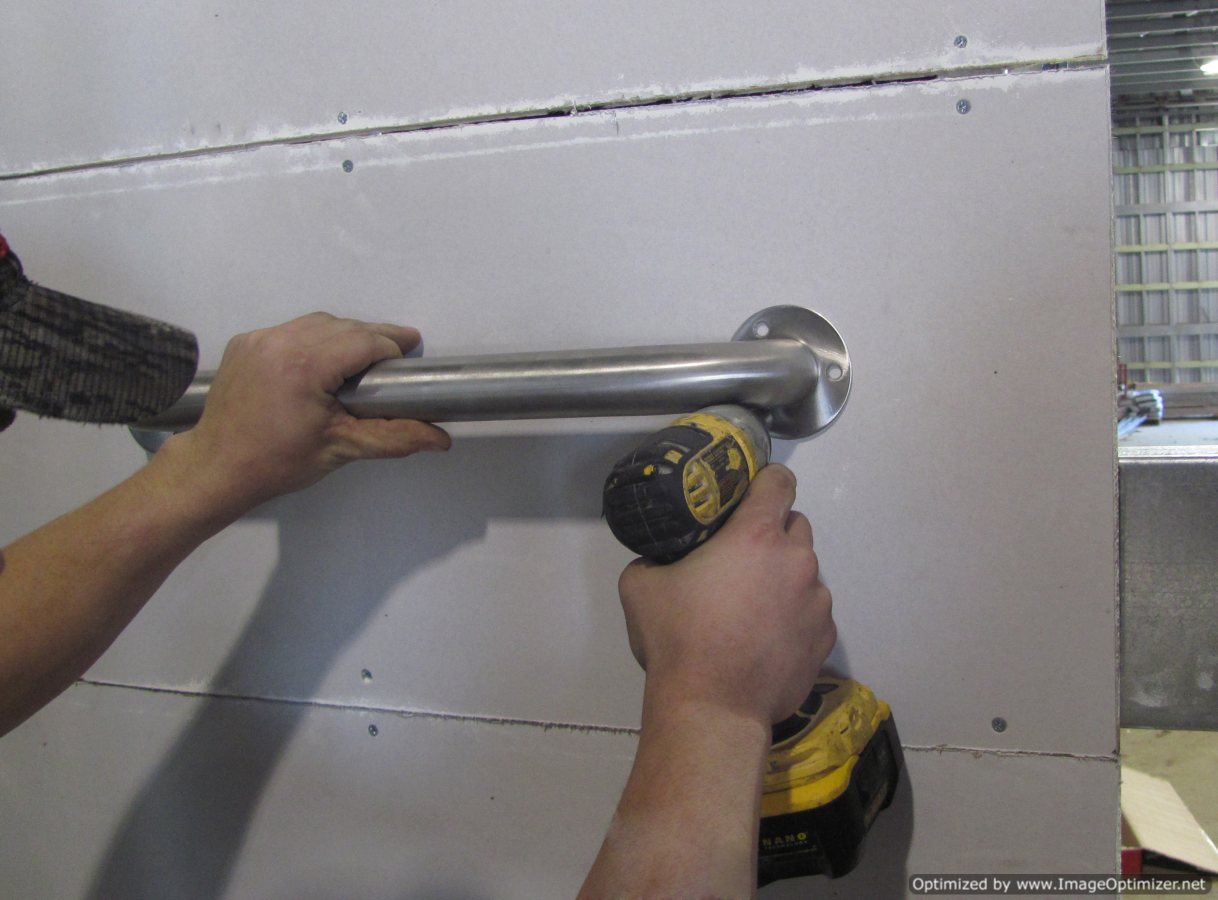
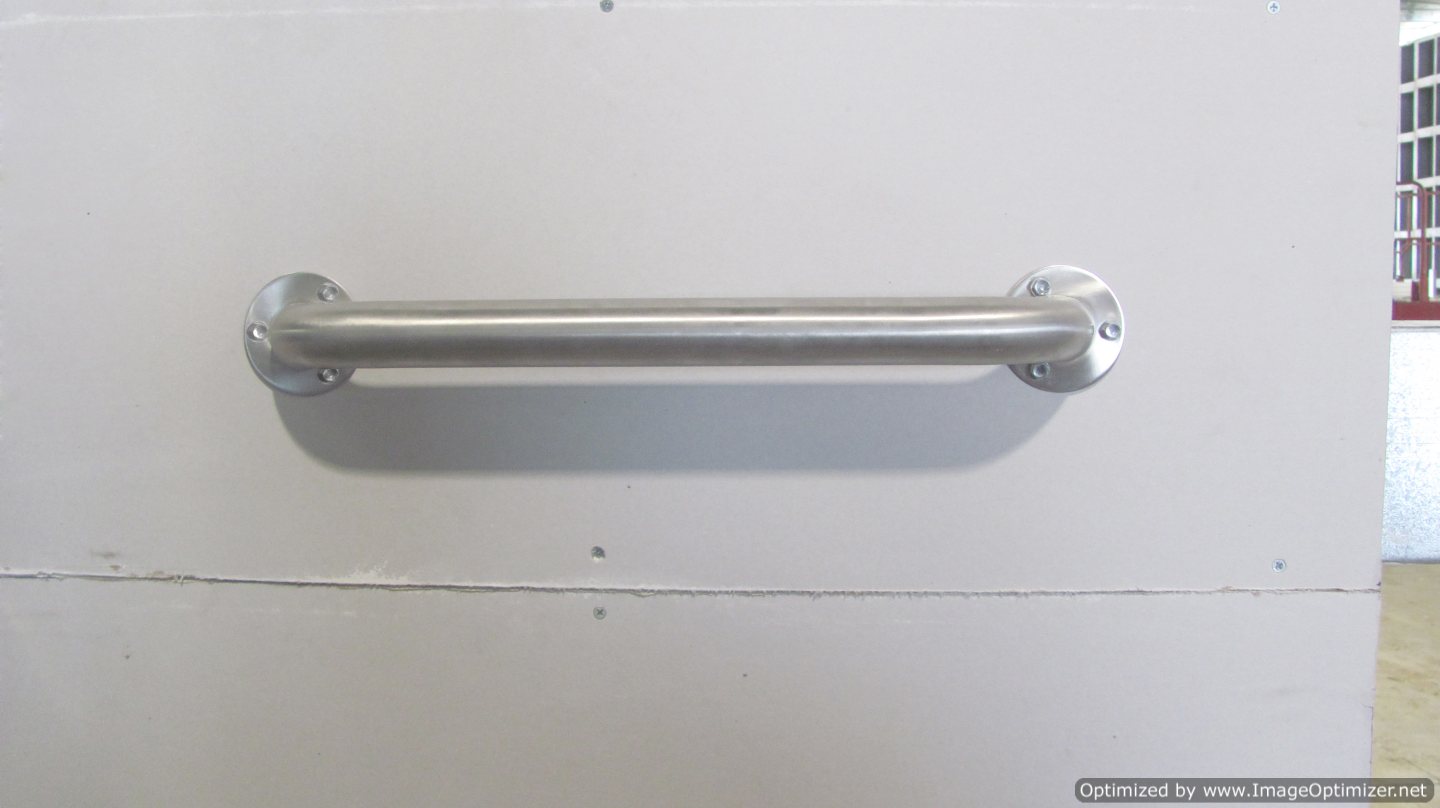
Step 14 - Install your wall-mounted product
Once the drywall is screwed back into the studs any product can be attached to the backing (see drawings on how to install various products using our backing). Now we will install a grab bar to our 3-in-One backing system, which is located behind the drywall. Installing to the 3-in-One allows the wall-mounted product to be ADA Code compliant.
Step 15 - Finish the wall
After you have installed your wall-mounted product using the 3-in-One or Flush-Mount System, you are ready to tape and finish your drywall. You're done!
Summary
The 3-in-One is the only product that has been tested by U.L. in a two hour fire rated wall. Now the installer has a tested product that is P.E. stamped, fire rated, and U.L. listed.
The 3-in-One is great for retro-fitting commercial buildings or facilities so that the fire rating is maintained. It is also the only system to run continuously in a straight run, while needing only one side of the wall to be opened for easy installation.
For any questions, please call Metal-Lite or Perfect Wall and ask to speak with the inventor of the 3-in-One System. Call 1-800-236-0302